By : Nikon School Blog | 10 Oct, 2017 |
An exciting genre of photography that has evolved out of shooting in darkness is light painting. Originating just as a few random streaks of light across the frame, light painting has today become a highly specialised genre of photography.
What is light painting?
Simply put, any image where the photographer opens the shutter long and uses a light source to illuminate the scene in various ways, can be called a light painting image. While a flash illuminates an image for a fraction of a second, in light painting, the light source is kept on for long durations and most often moved around to create a variety of effects.
Techniques
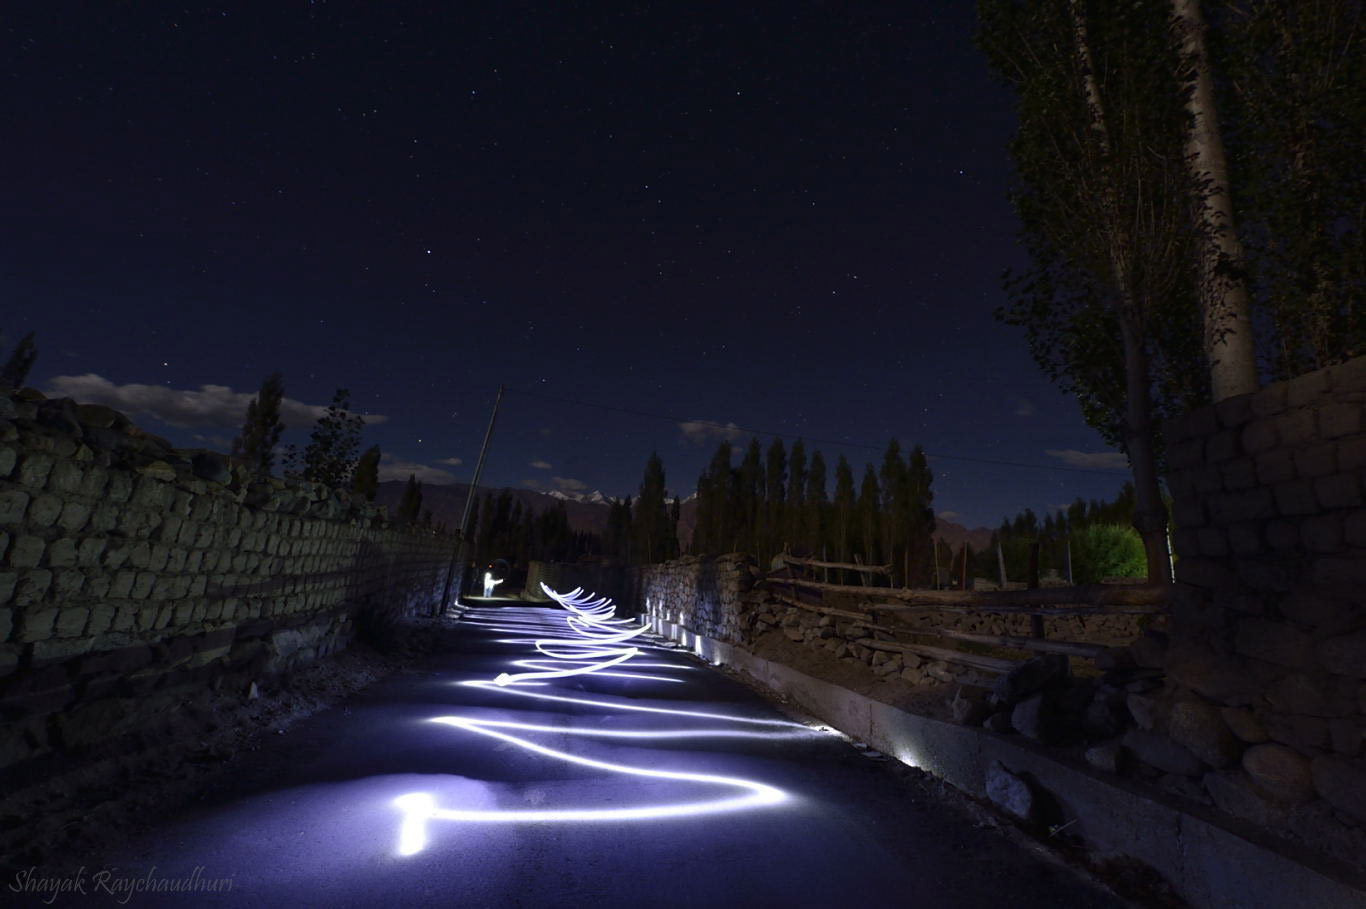
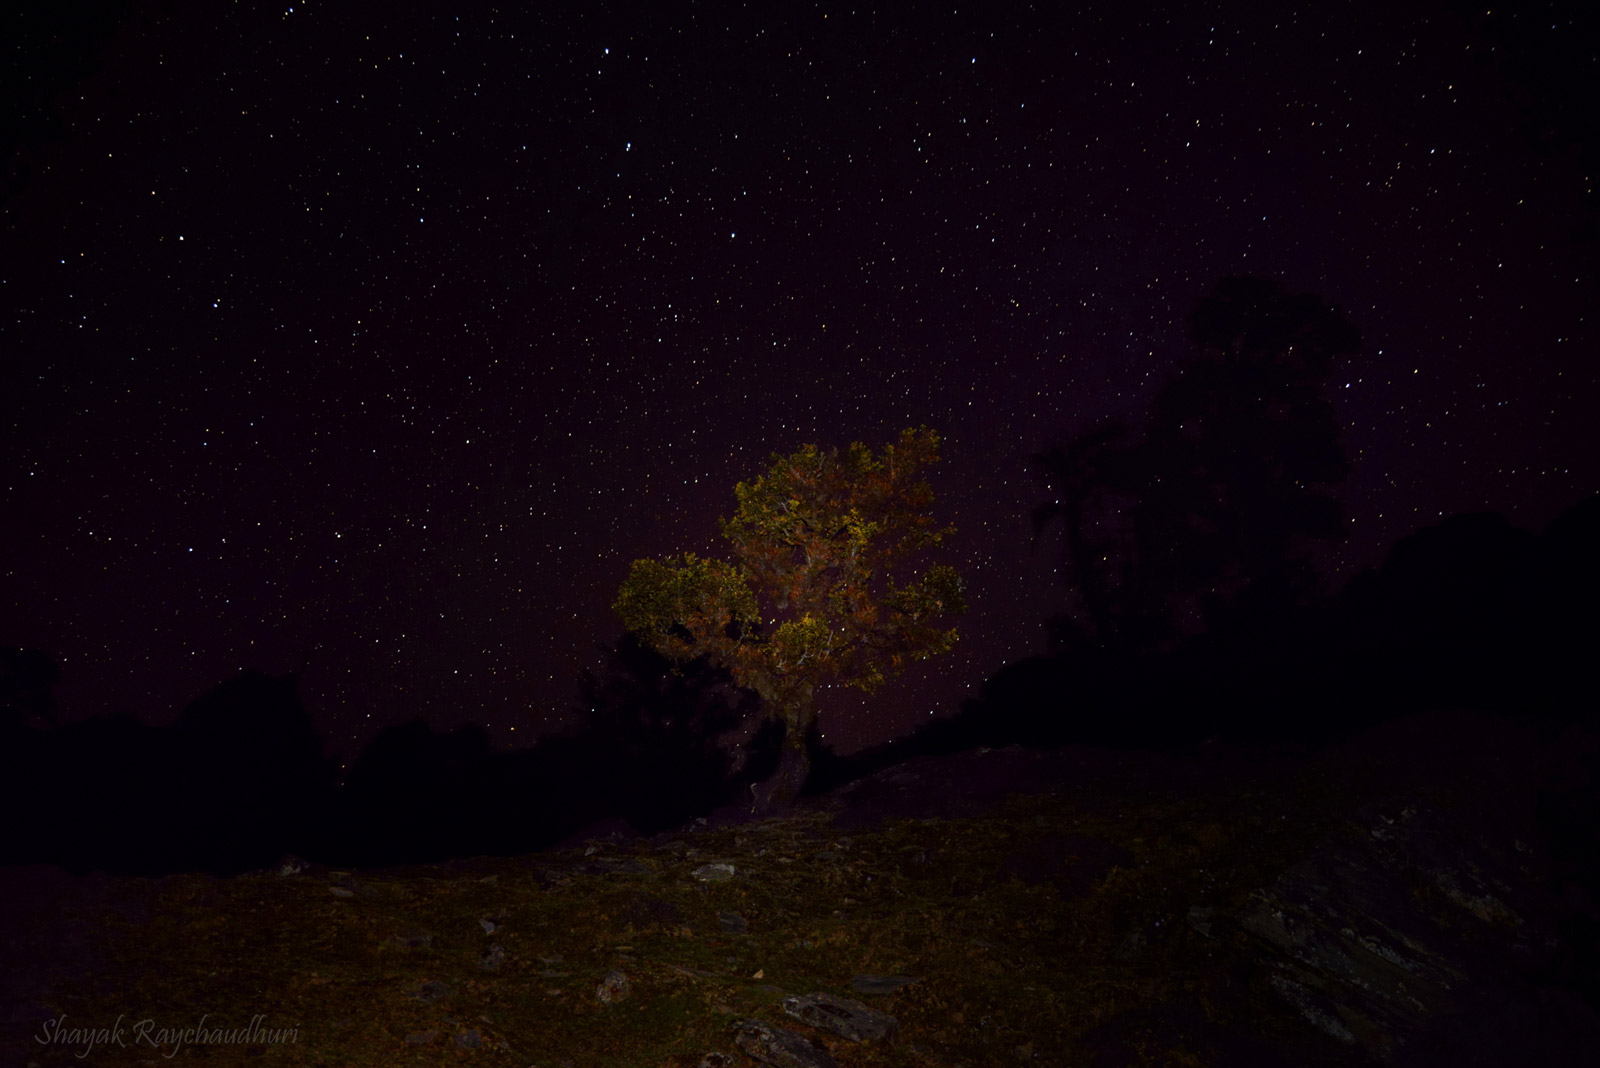
Though the genre is still evolving, over the years, two major techniques have evolved. One, where the light source is pointed towards the subject and does not directly enter the camera. This technique is often used to illuminate areas in the dark which will not otherwise be possible. Forests, caves, interiors, empty streets etc., can be illuminated this way.
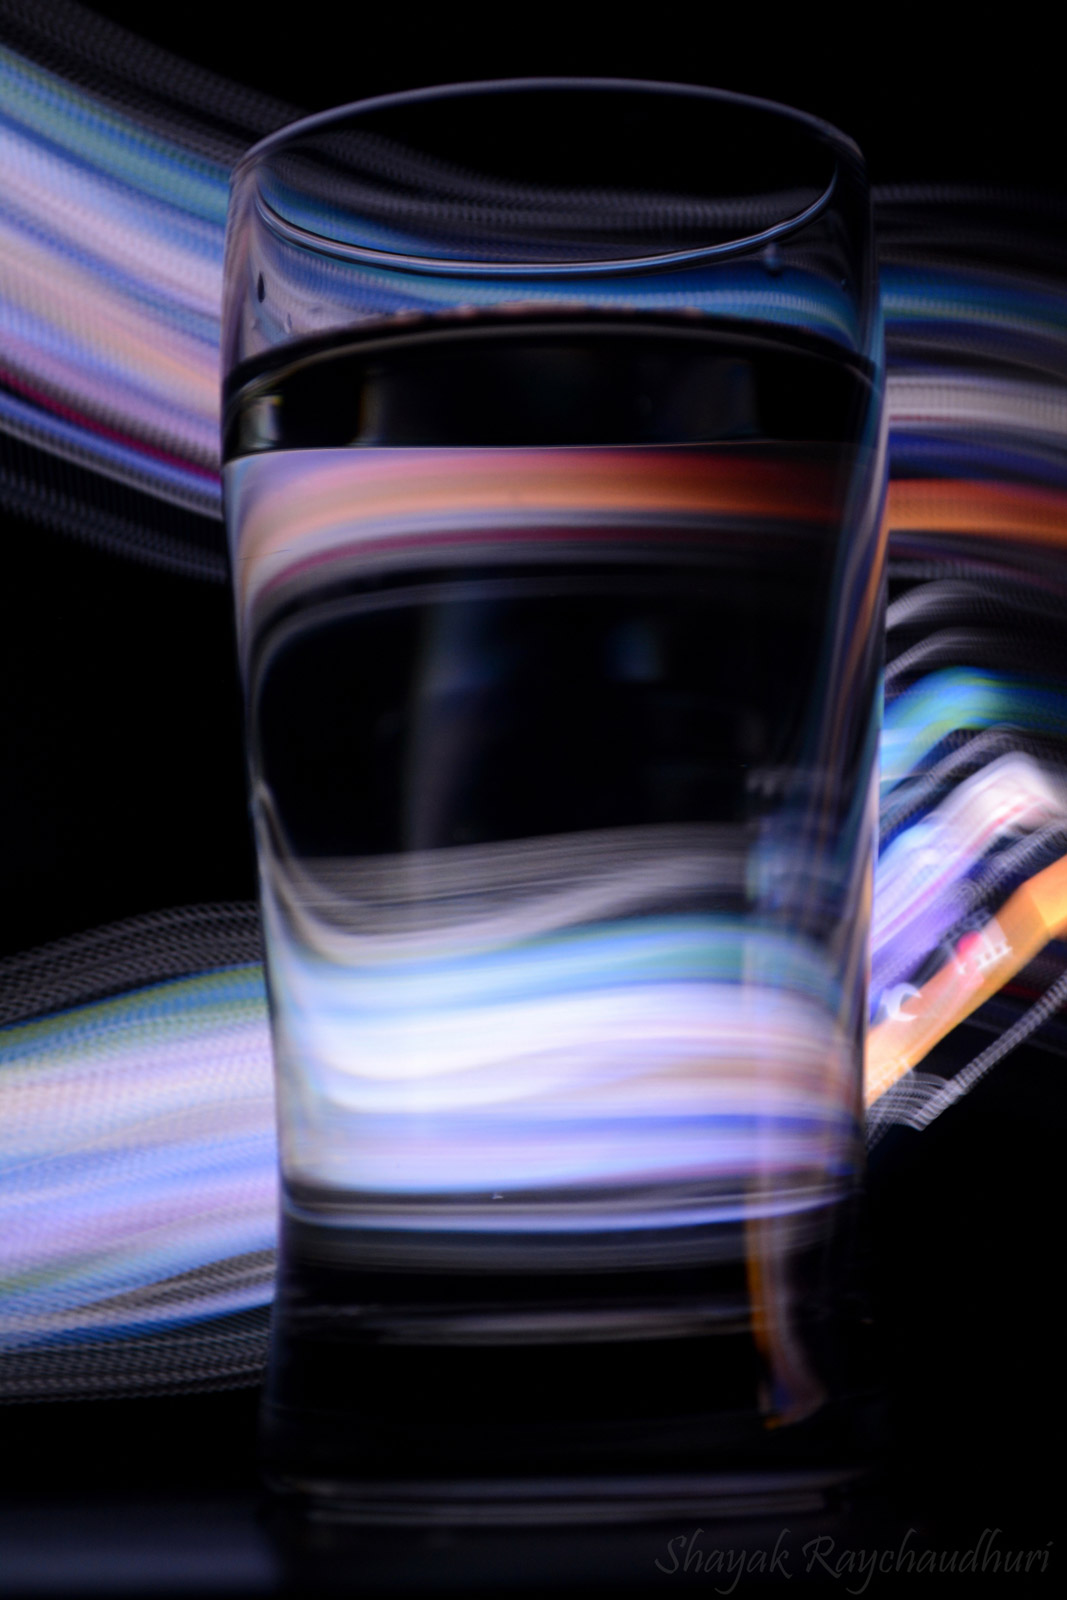
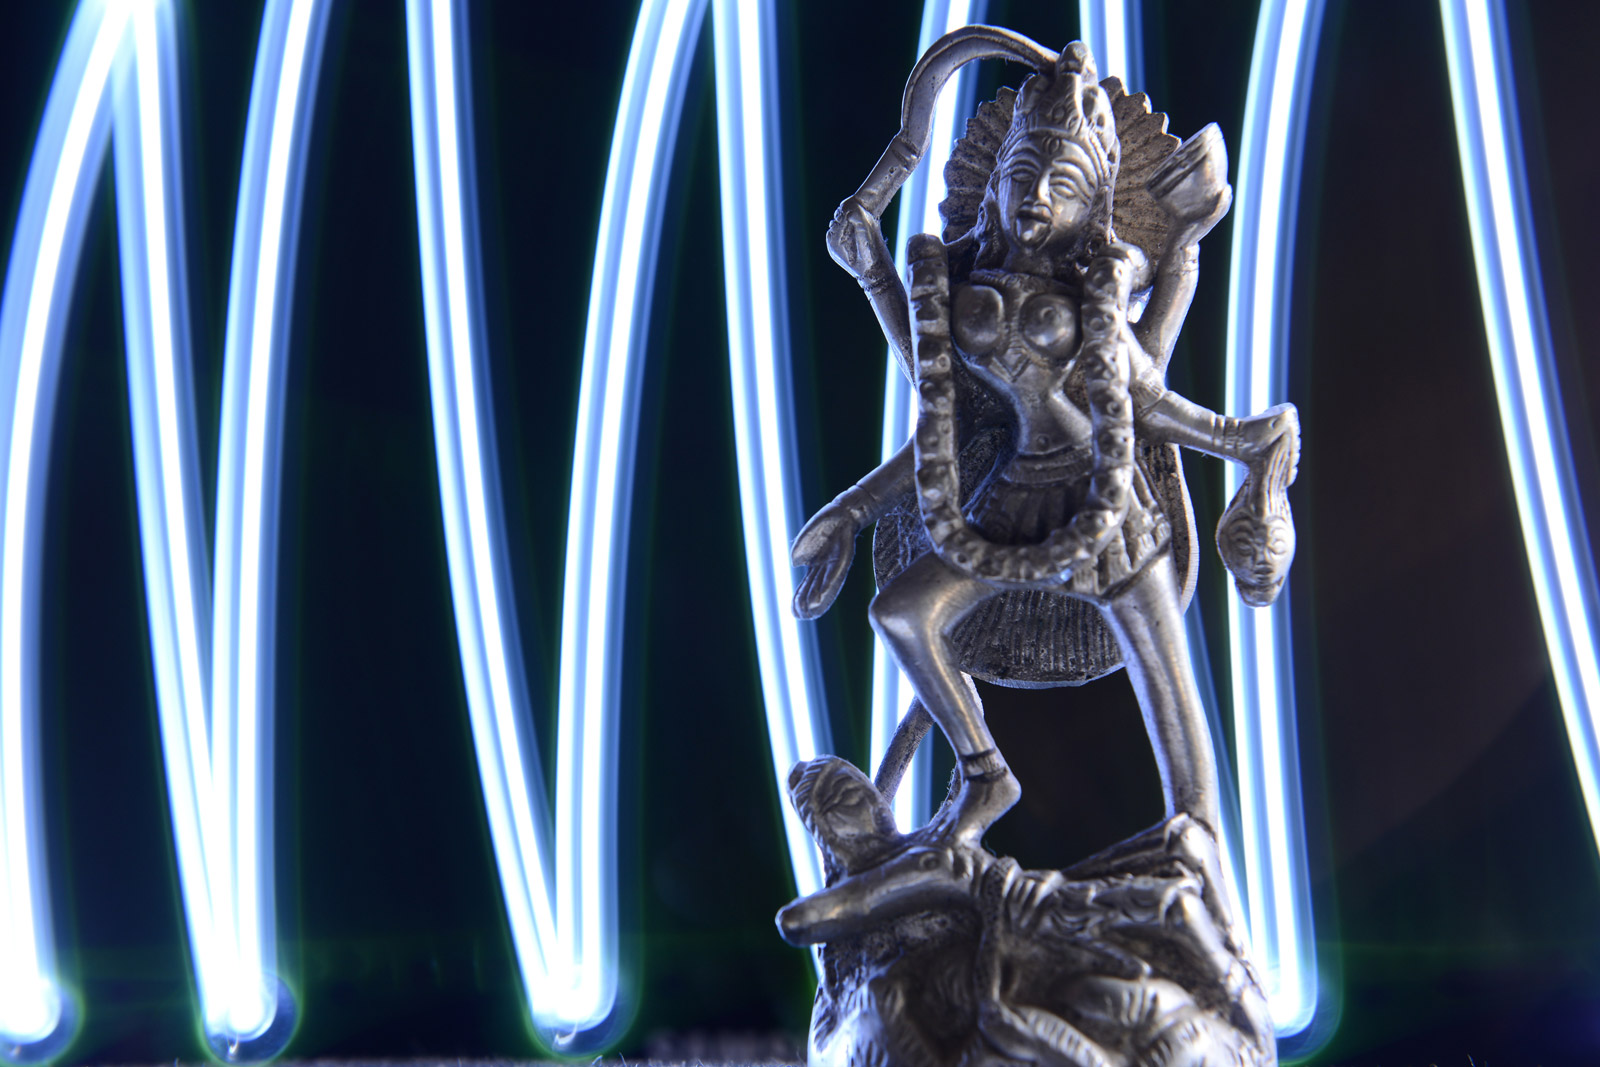
The other technique involves pointing the light source directly at the camera during an exposure, and usually creating interesting patterns with the light or lights. This technique is more popular among light painting enthusiasts.
Equipment
Any DSLR camera with Manual mode and BULB mode support, a tripod, and a light source like a torch or lamp are the three main equipment required for light painting. Having a remote trigger will be extremely useful, if you are attempting the shot without any assistance.
The light source can be a basic torch. However, with a little improvisation, you can create a host of lighting devices that can make attractive light painting images. Nowadays, many such lighting devices are available in the market or from online equipment sellers. Just visit your nearest electronics store and look for any lighting device that are battery operated and can be moved around.
Location
Often, the location needed for a really attractive light painting image is the most important ingredient. It is the background on which the light will carve its path. The location needs to be free from any light coming into the camera directly or indirectly from sources other than the one to be used.
The Process
Decide the exposure for the ambient light first, if you want to include some of it. For example, if the metered exposure is 20 seconds at f/5.6 and ISO 800, you need to complete the light painting within 20 seconds.
Another approach is to go for the BULB mode, (Only in Manual mode) and keep the shutter open for as long as required. A few test shots will be required before you get it right.
Start the exposure by pressing the remote button or ask someone to press the shutter release button. Start moving the light across the scene as per your concept. End the exposure once the light-painting is complete. Repeat the process till you are satisfied. Try to place yourself in the image by standing inside the frame for a few seconds with the light on.
Using the 'Mirror-up' or 'Exposure delay' mode can remove the possibility of camera shake during long exposures.
Experimentation
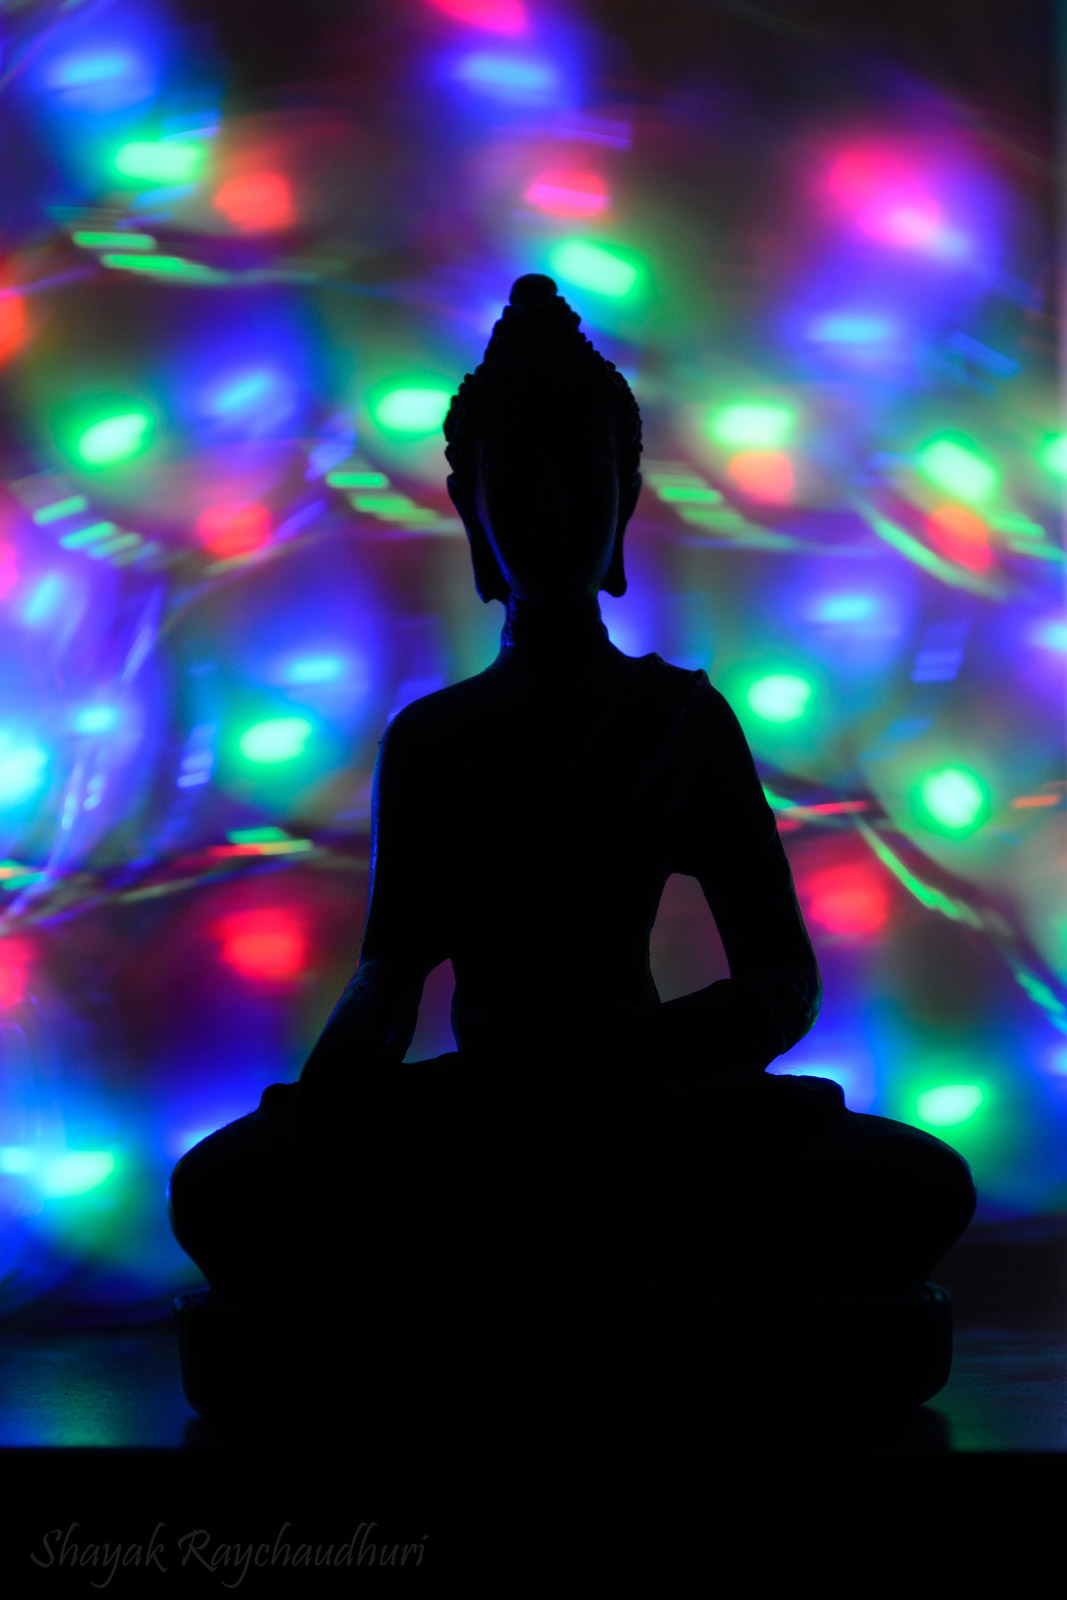
There is a lot of scope for experimentation. Use lights of different colours, move the lights in various patterns, and place people or objects in your frame to create interesting light painting compositions.