By : Nikon School Blog | 12 Jun, 2017 |
We can freeze a moment using photography. But can we record the passage of time?
One of the techniques that captures the flow of time effectively is 'Time lapse photography'. The technique records the events that happen over a long period from an hour to a few years and shows it quickly in a few seconds. If done correctly and creatively, the results are often dramatic and visually attractive.
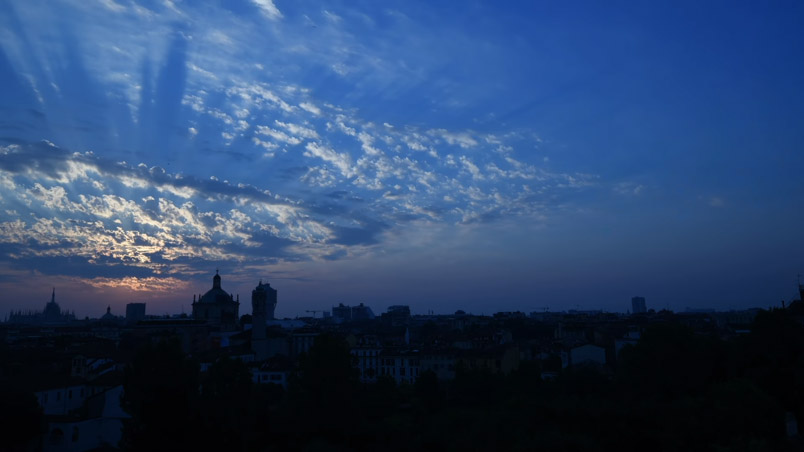 A screen shot from a time lapse shot with Nikon D5600
Typical time lapse subjects are simple daily events or natural processes like the passing of, dawn turning to dusk, sunrises or sunsets, people filling up an auditorium, a street over a period of a day etc.
The technique of shooting time lapses has been in use since early twentieth century. However, the use of time lapses as a cinematic tool has grown tremendously over the last few years. One reason, of course is the arrival of digital SLR cameras with in-built time lapse feature. Earlier cameras could record images at regular, pre-set intervals and later they could be merged using a video editing software to create a time lapse video. This was called interval Timer, and is available in most Nikon DSLRs. The process was lengthy and required knowledge of video editing software.
However, time lapse photography became very easy with the arrival of in-camera time lapse feature in Nikon DSLRs. In-camera Time Lapse also shoots images at regular intervals, but the camera compiles the images into a time lapse movie and shows you the result almost instantly. With the whole process of making the video taken over by the camera, making time lapses has become incredibly easy.
While deciding what kind of subjects to shoot for time lapses, look for movement. Some movements are very apparent, for example, people filling up an empty street as the day progresses. These will produce fast moving, jerky time lapses. Others are slow and cannot be perceived just by looking at them for a few second, like the hour hand of a clock. These slow events make smooth time lapses and attract us more.
Even more dramatic time lapses are those that happen over longer periods, like the rotting of a fruit, a construction project shaping up, flowers booming, seeds sprouting, etc.
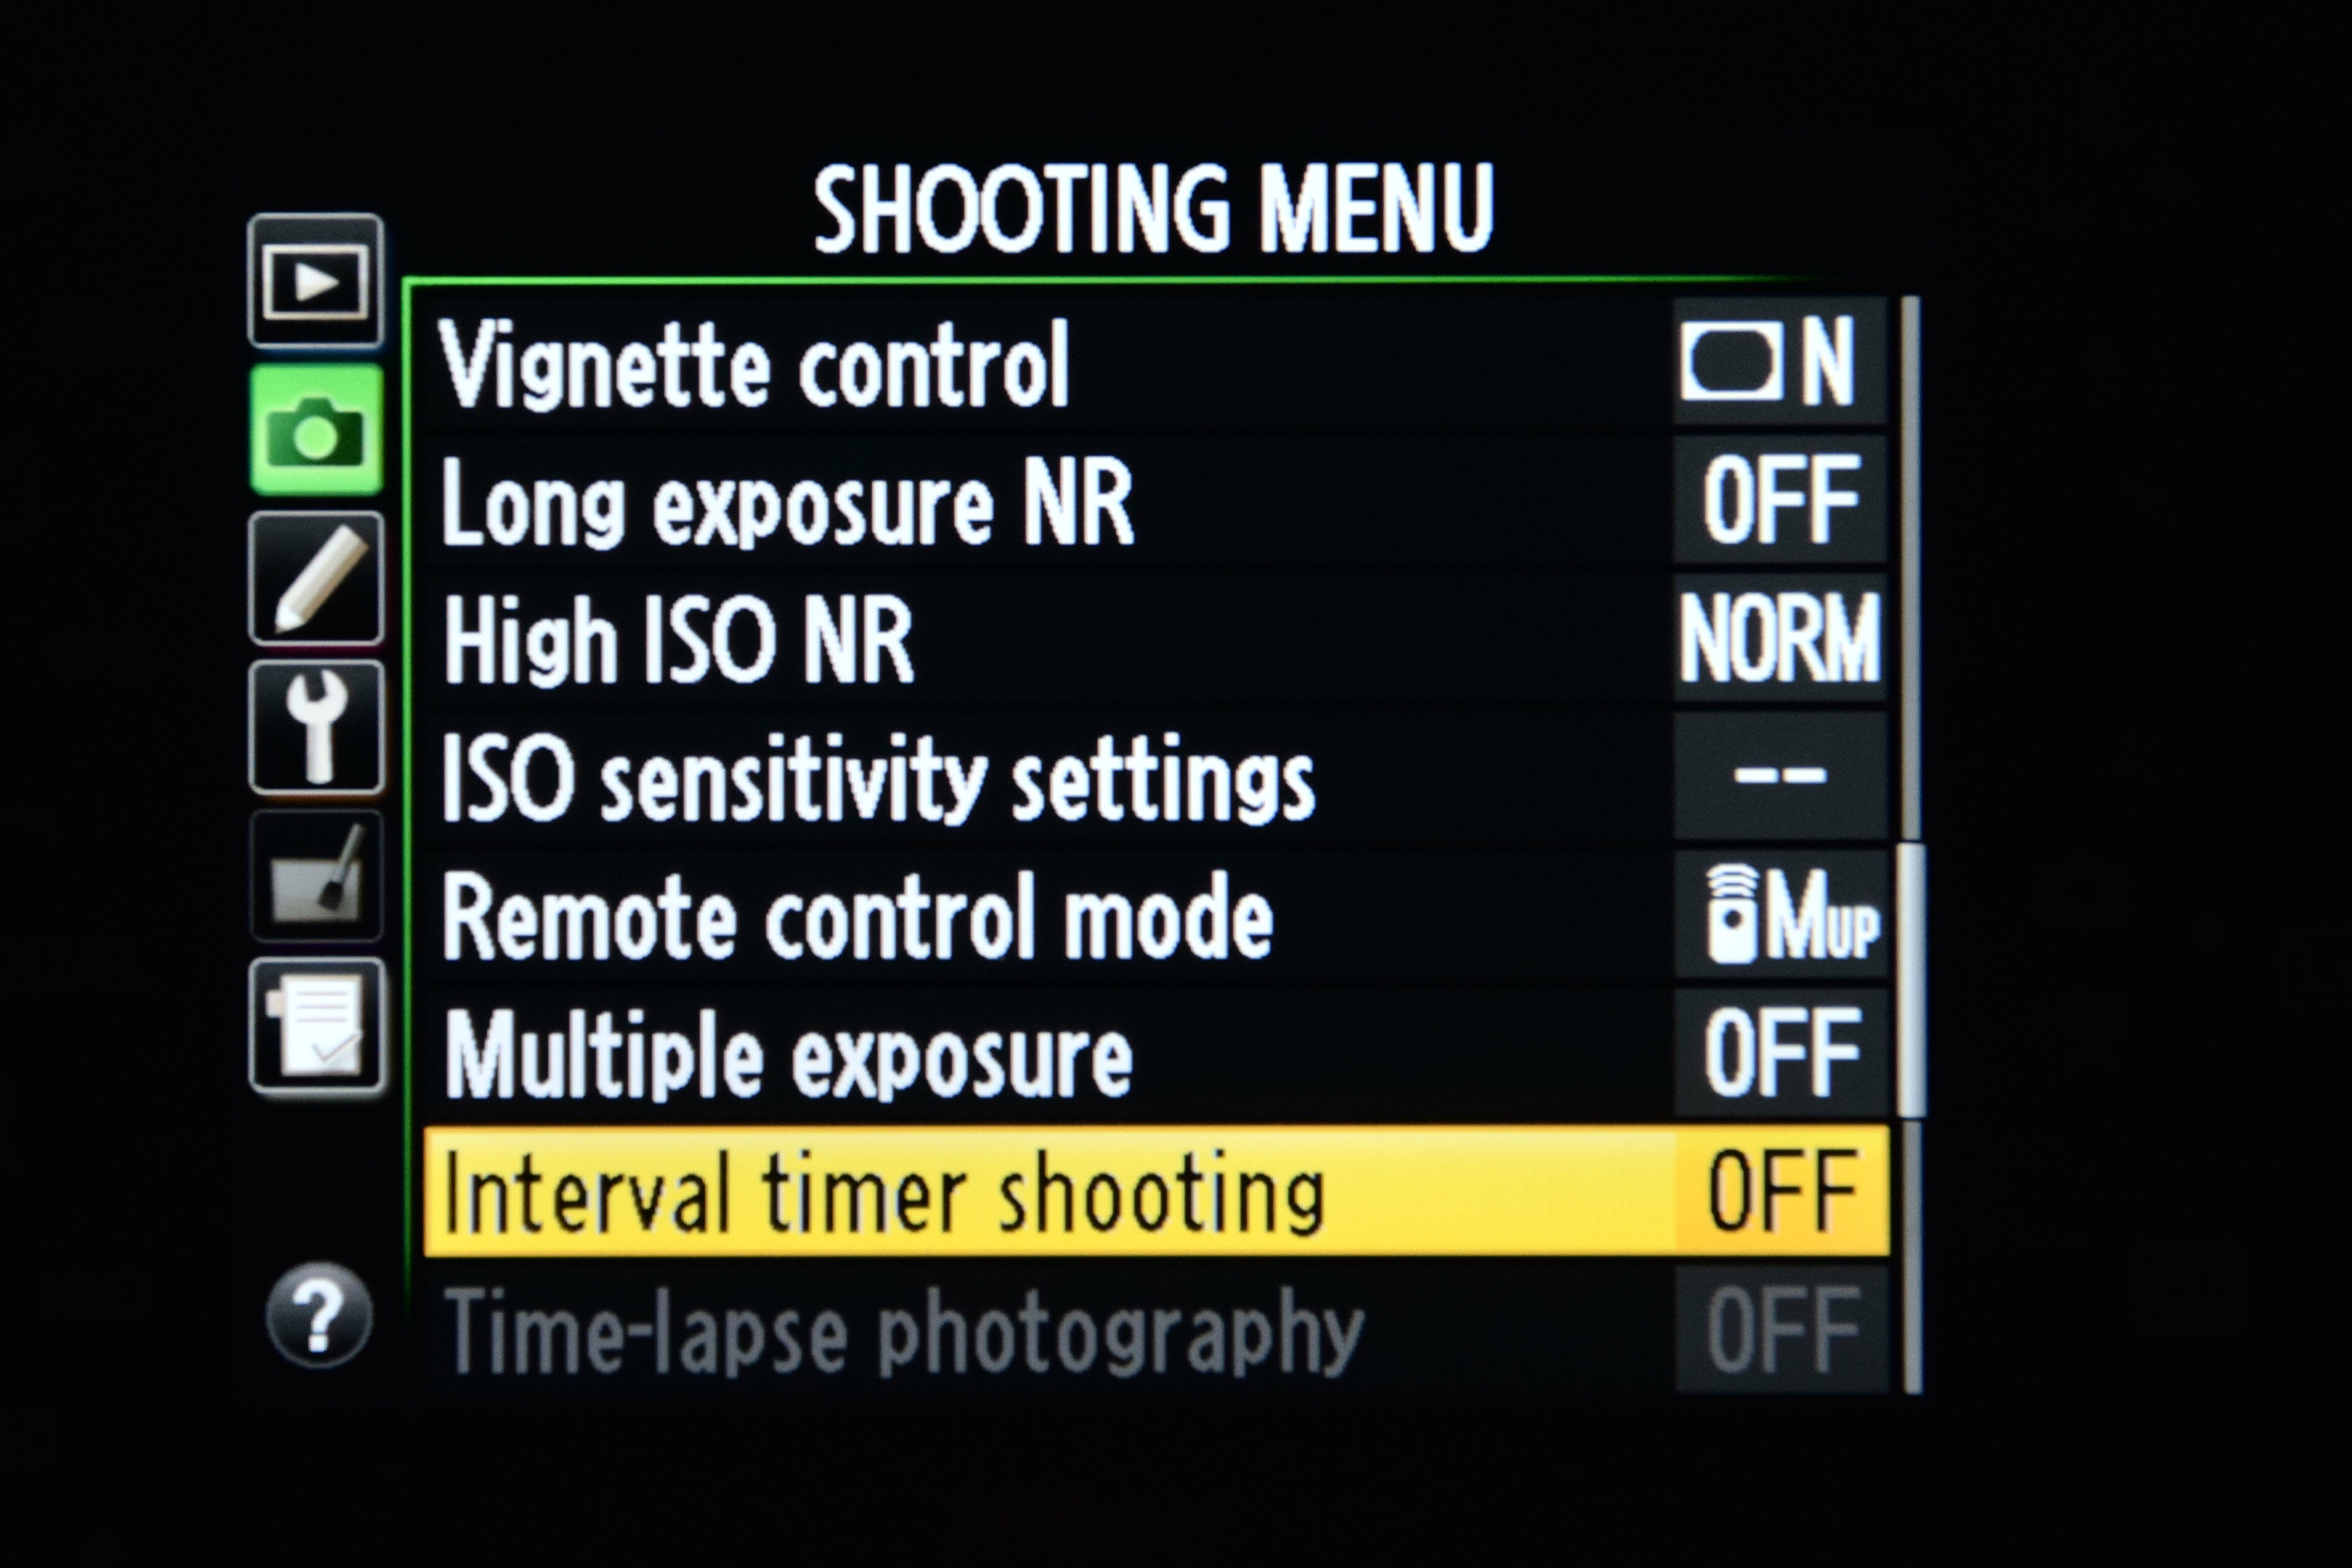
Let's now get to the process of setting up a time lapse. First ensure your DSLR supports this feature. Go to the Shooting Menu and if 'Time-Lapse Photography shows up, then your camera supports it. Select this menu item.
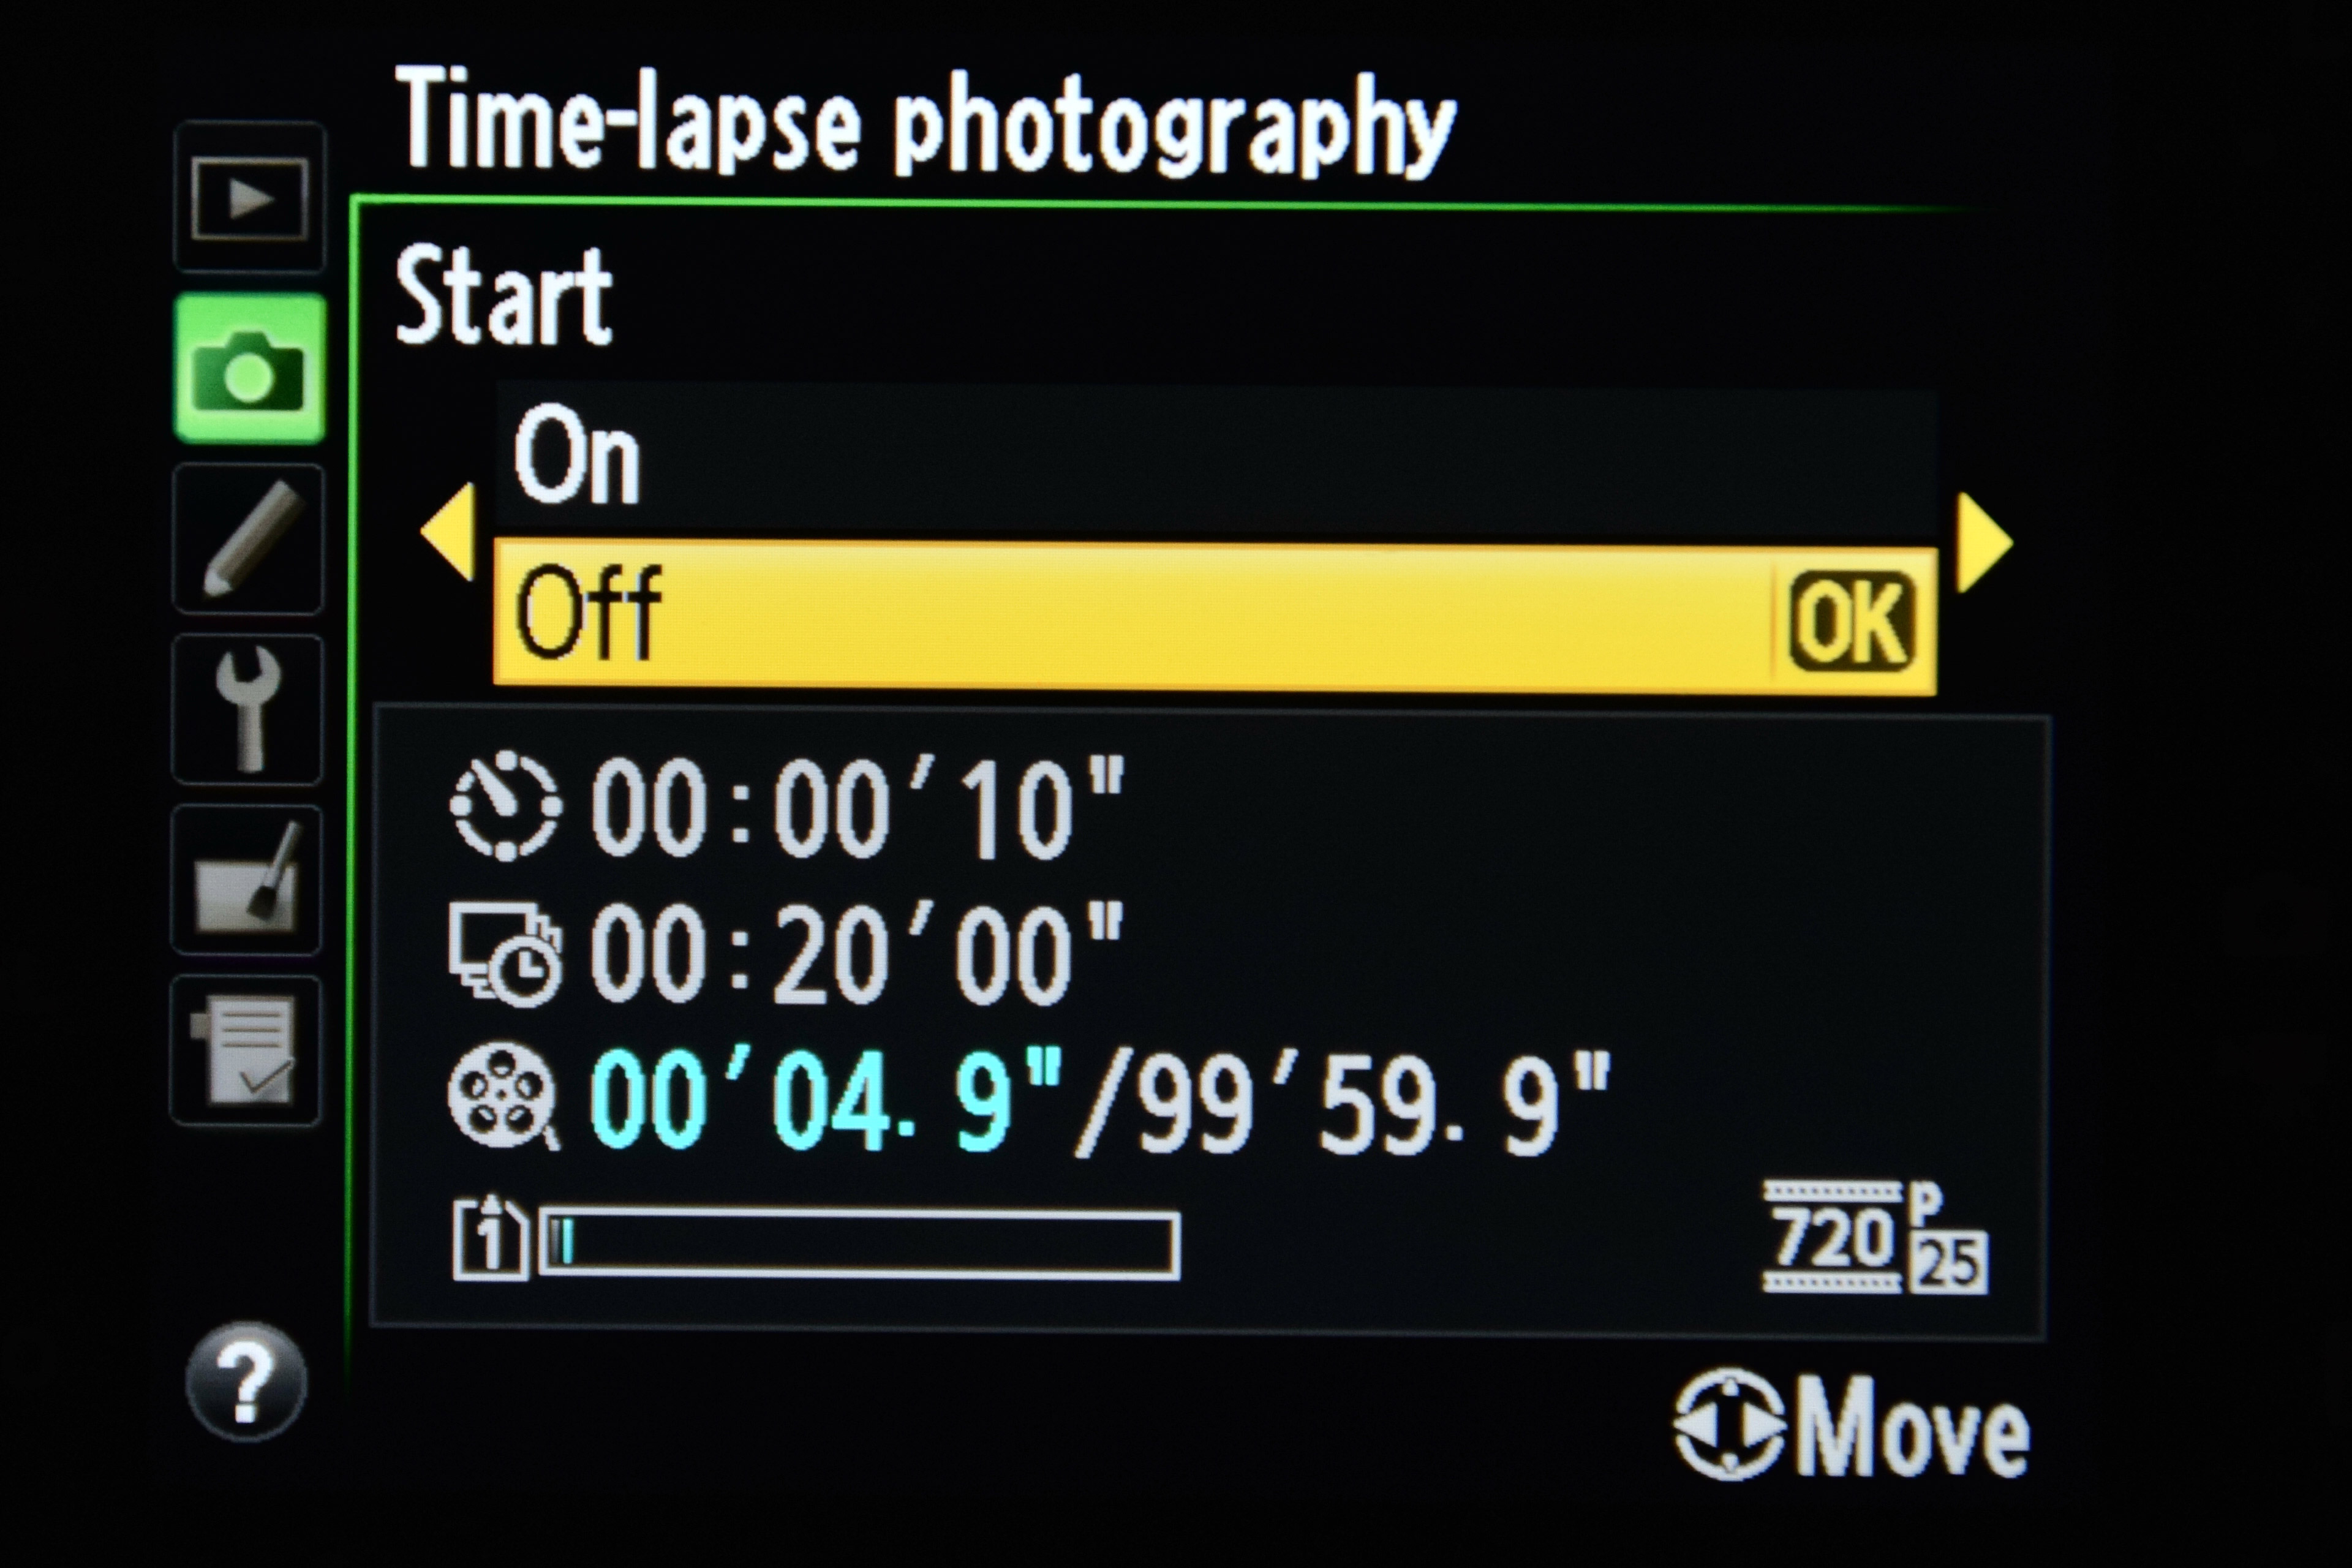
Choose an interval by using the multi selector (up down , right left buttons). If you select 10 second, every 10 seconds, one image will be shot.
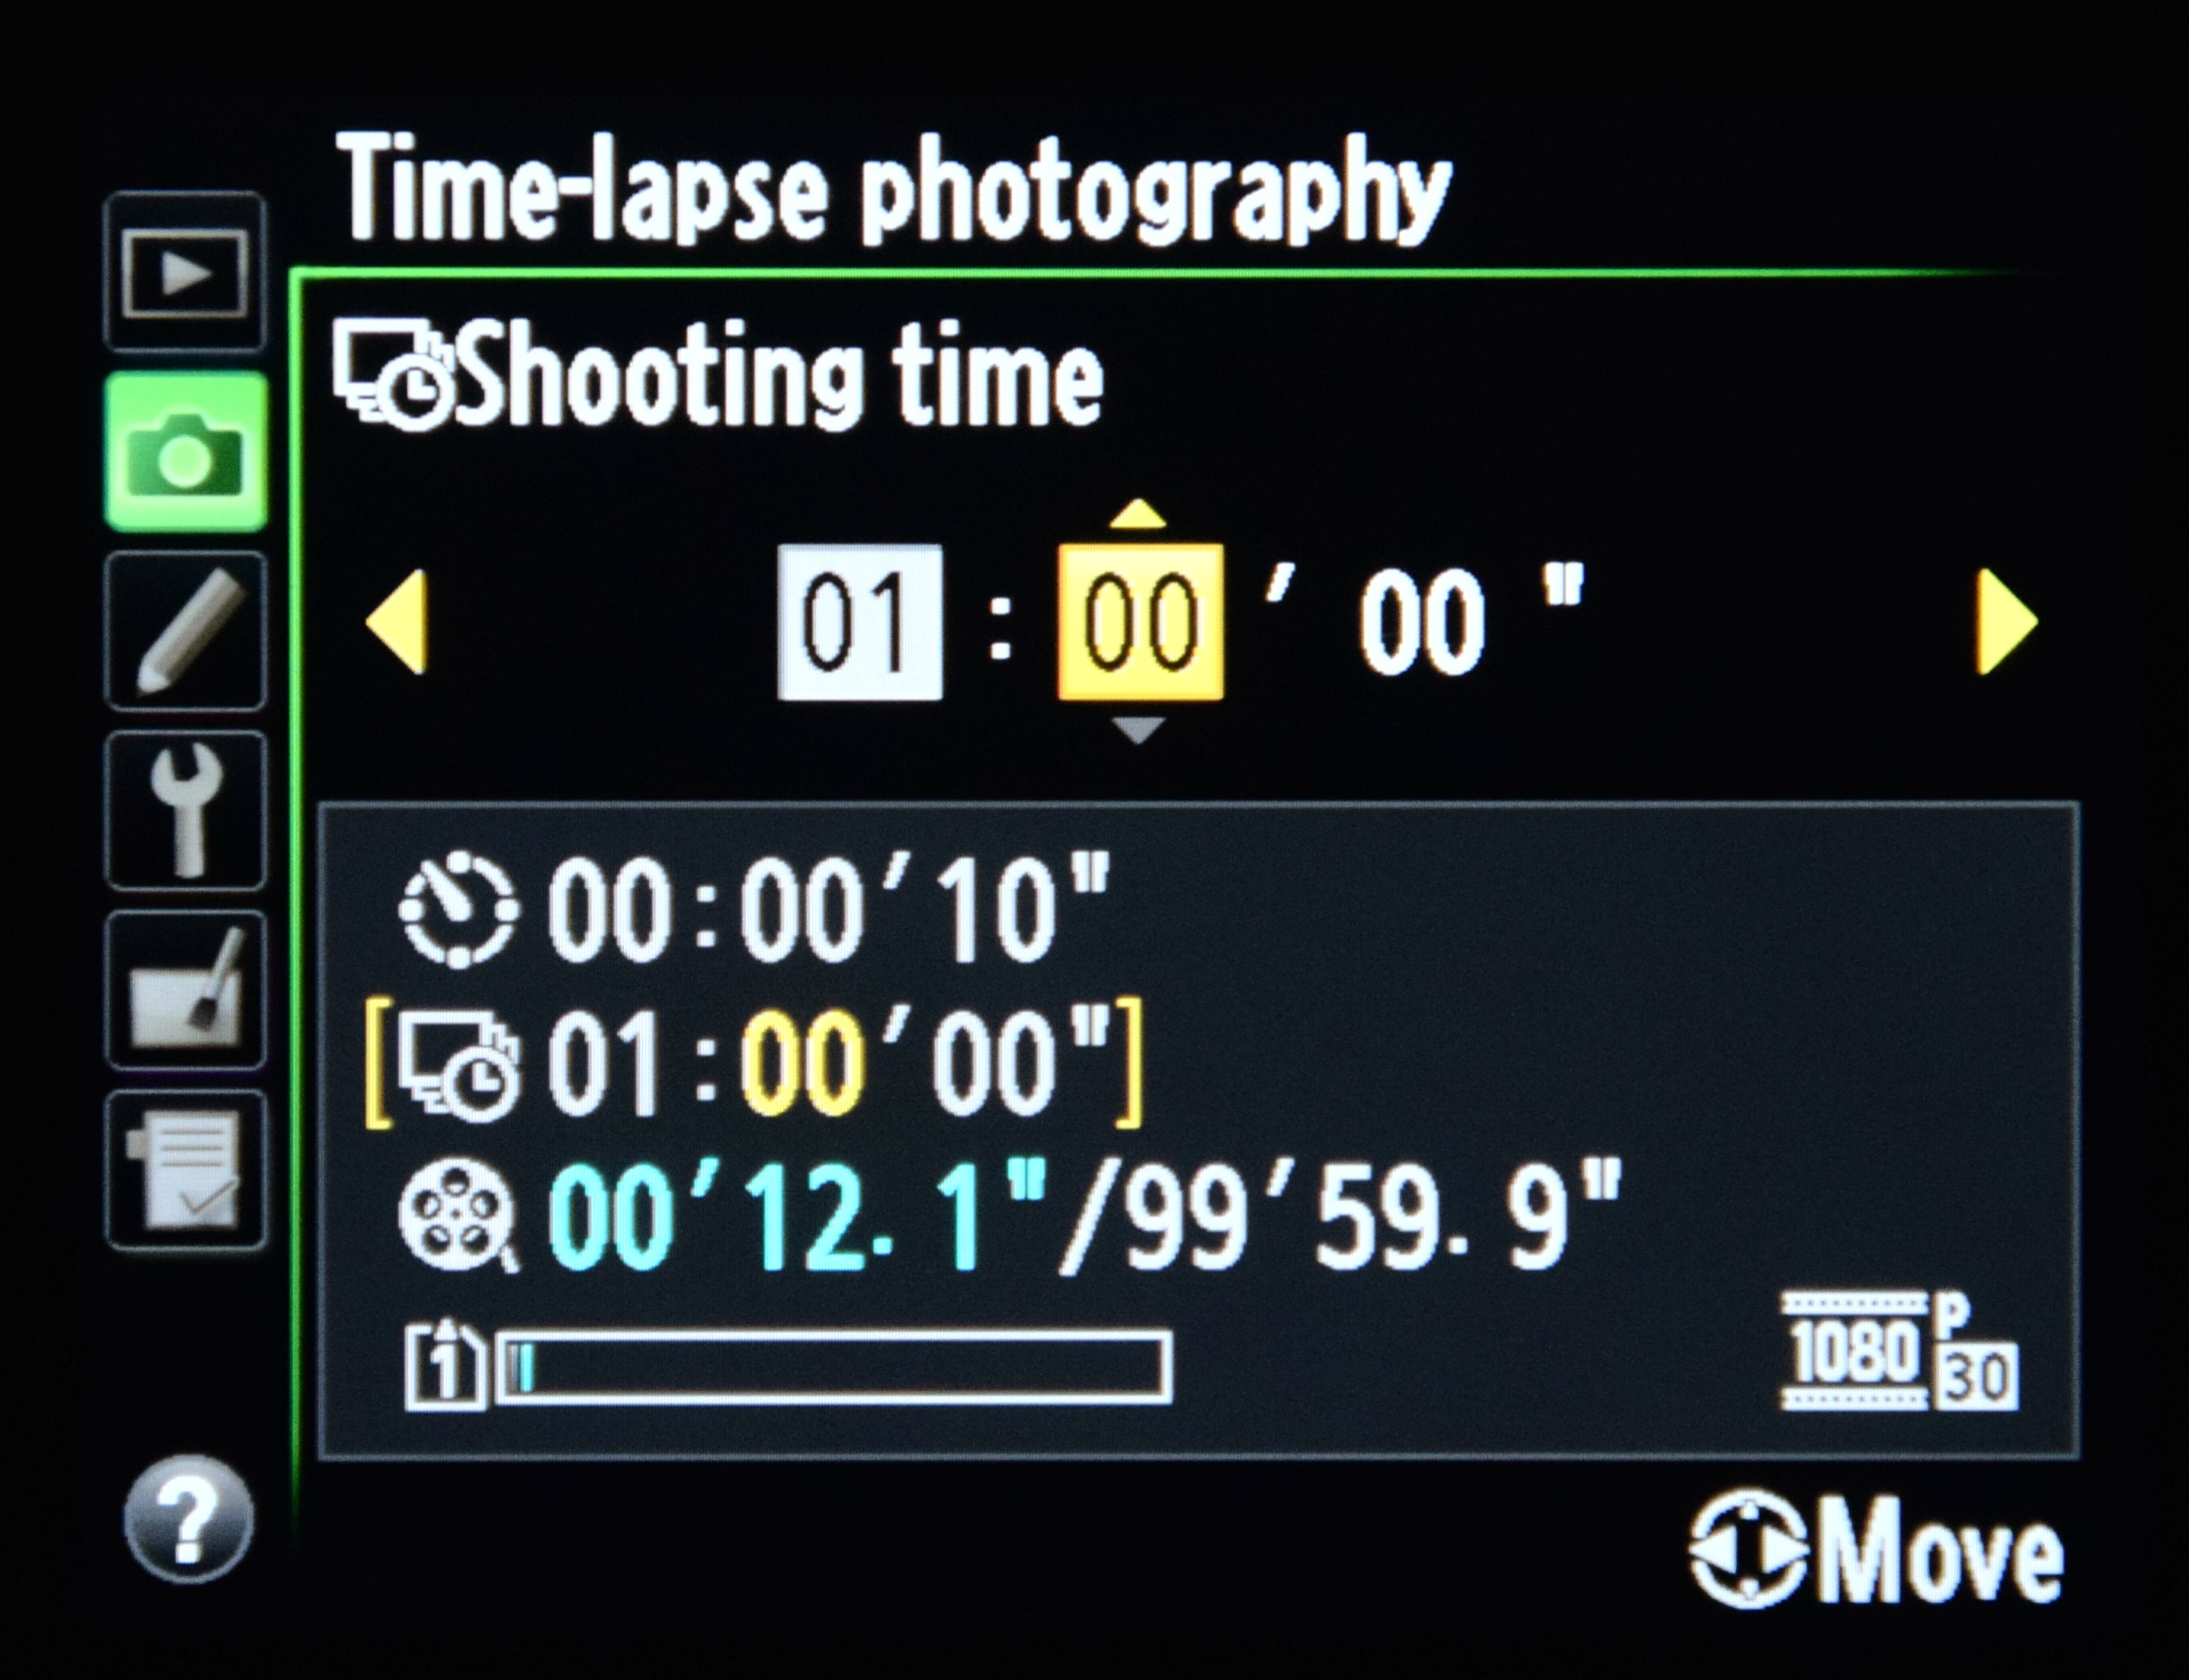
Choose a shooting time. This tells the camera for how long it will continue shooting.
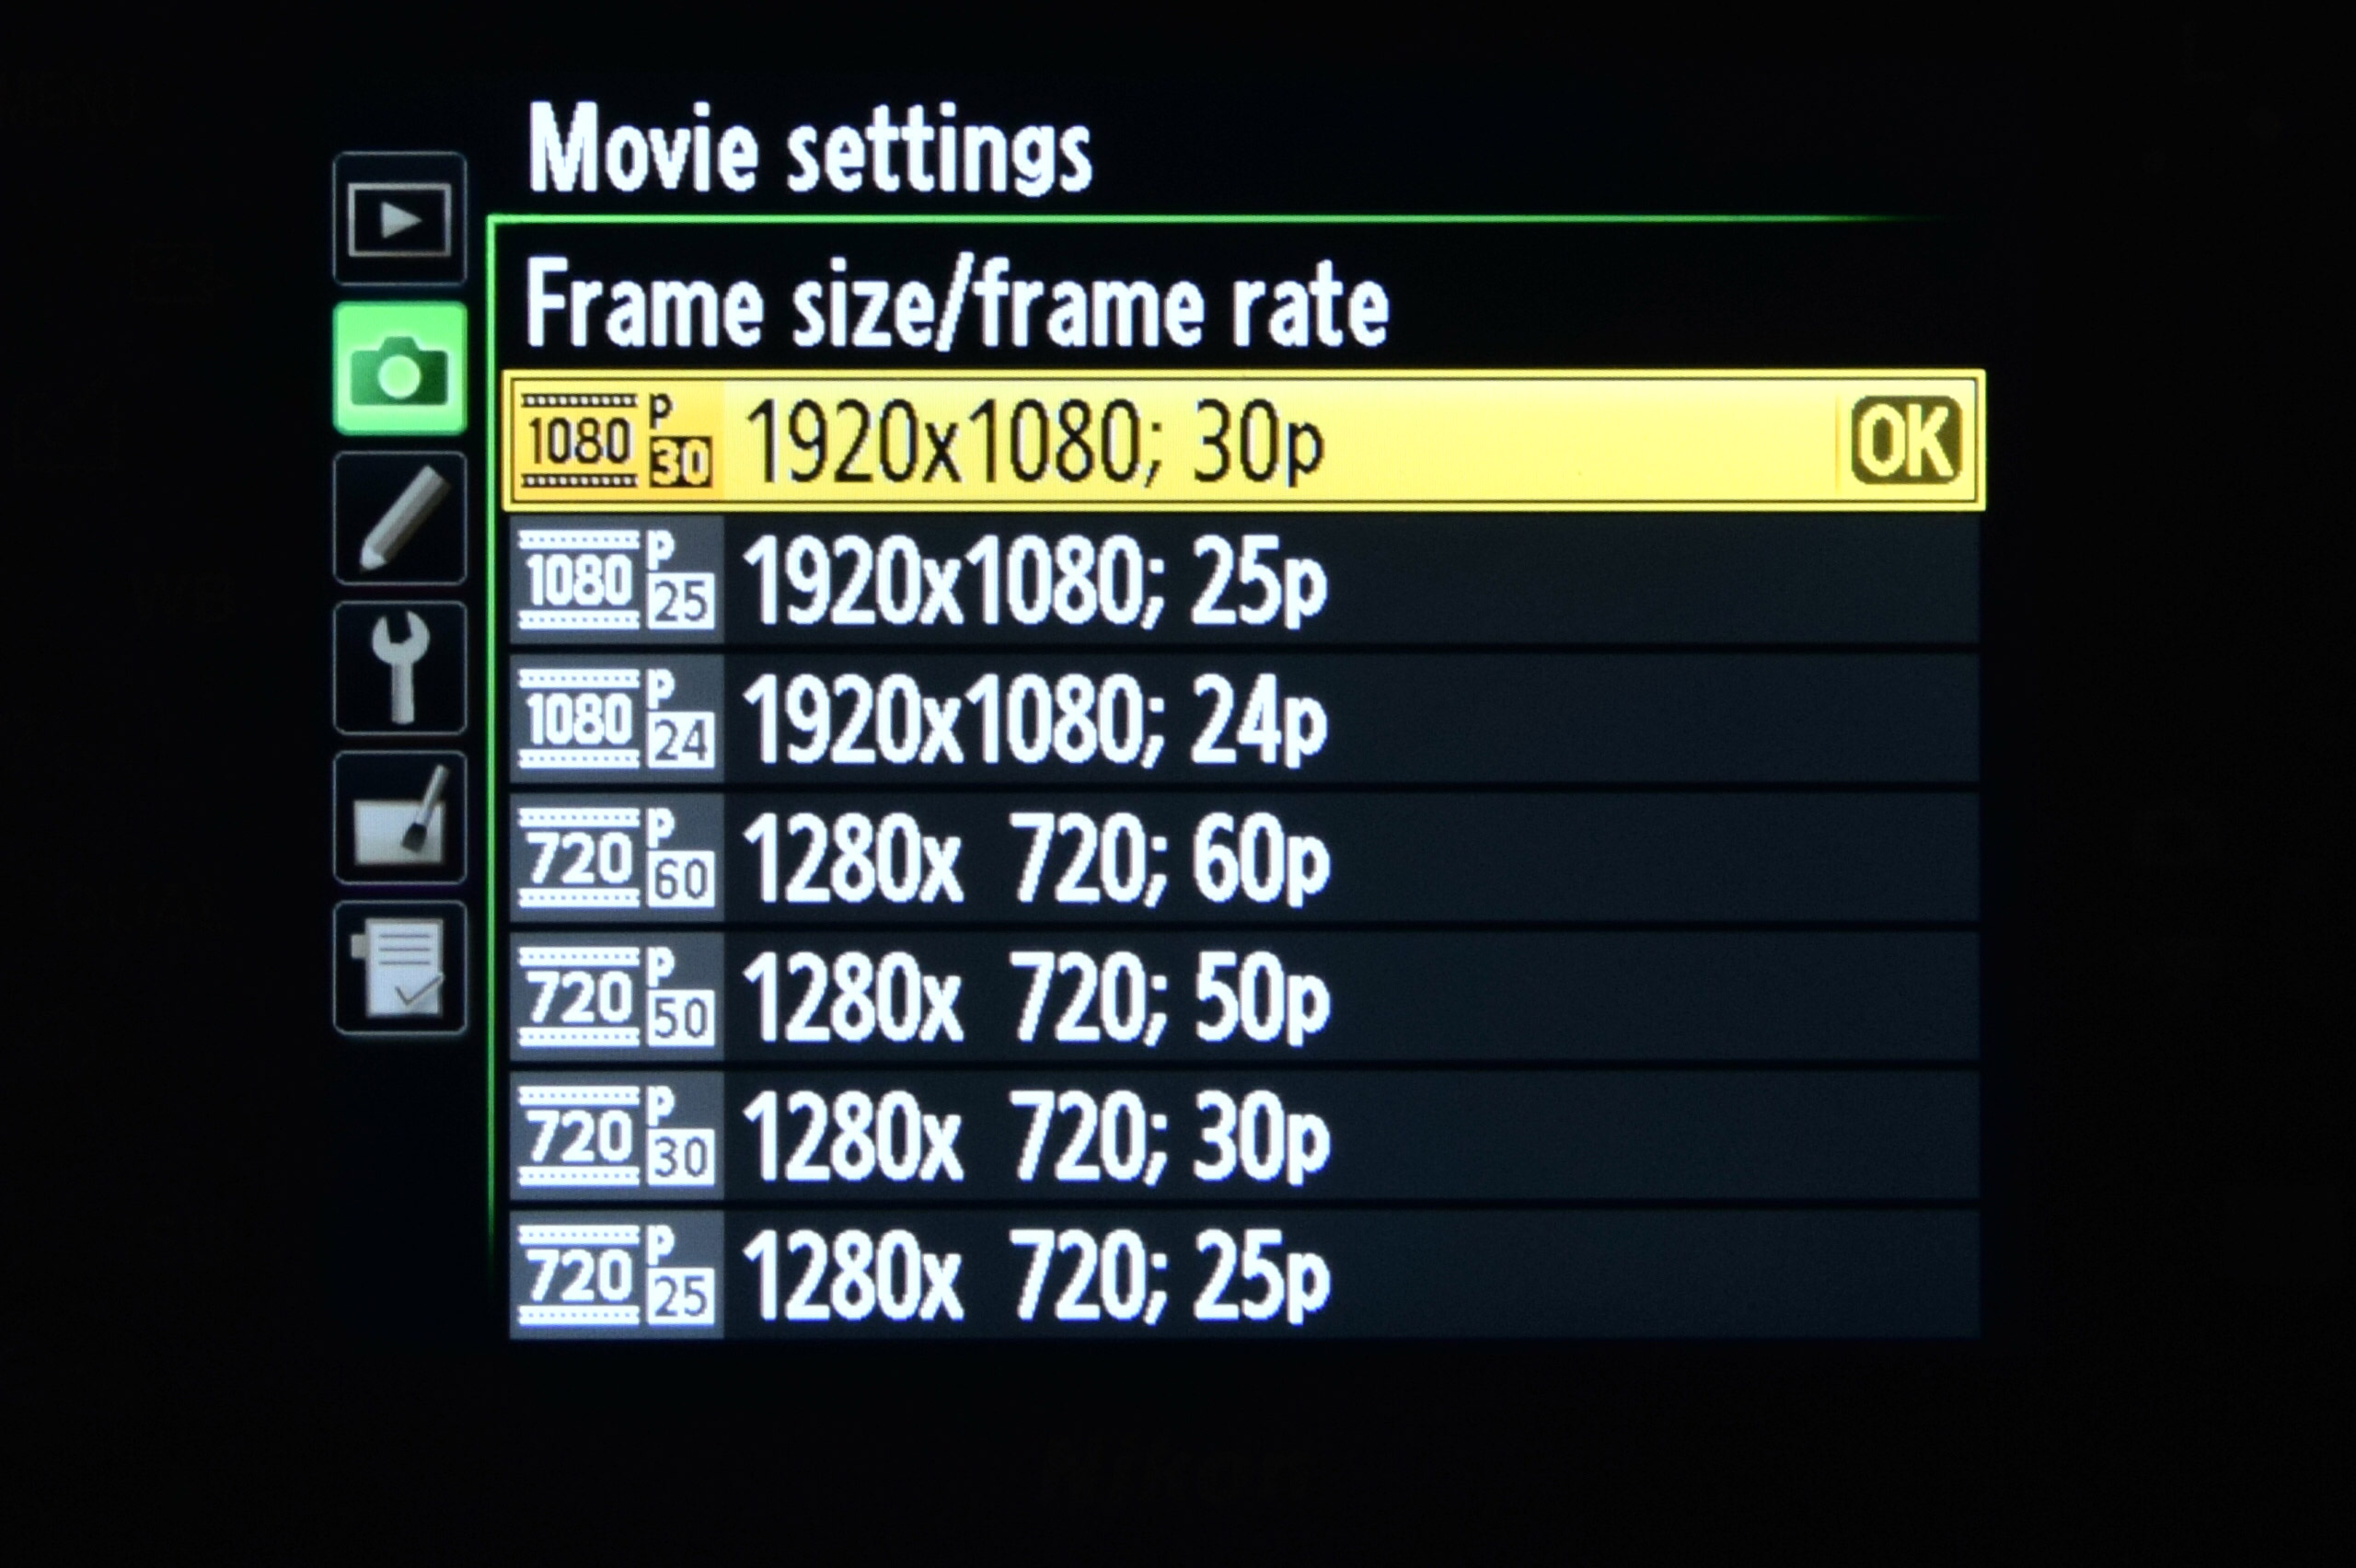
Let's understand the mathematics of shooting time lapses. If we take one image every 10 seconds, then in a minute, we get 6 images. In an hour, we get 6 X 60 = 360 images. With these 360 images, if a video is created at 30 frames / second, we get a (360/ 30 =) 12 seconds long video. This 12 second video will show us the events of an hour. If you shoot for longer, you get a longer time lapse video. Length of a time lapse will increase if you reduce the frame rate. This has to be done from the movie settings.
You cannot use the Time Lapse feature -
When Live view is on
With BULB shutter speed
With High Dynamic Range (HDR),
With bracketing on
With multiple exposure
While using Interval Timer
Try out this wonderful feature if your camera supports and surprise everyone with your creativity!