By : Nikon School Blog | 21 Sep, 2014 |
Post-processing is as old as photography itself. In the B&W era, there were a whole lot of corrections or enhancements done during the developing and printing stage. It was almost like shooting the picture all over again. In colour era, we often took pictures but found out that the prints look nothing like what you had set the camera for. The printing machine and the person operating it did exactly what we nowadays do with software – processing.
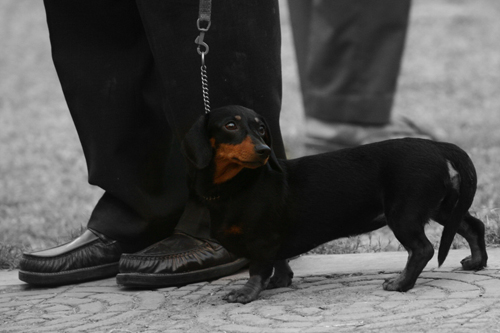
Today, Effects like this can be achieved with free applications
The digital era is often associated with post-processing, but all it has done is bring processing within reach of everyone. Whether you have expensive editing tools, or basic free applications, all images can benefit from varying degrees of editing. All those time consuming and often secret processes are now within our reach.
The question often posed by many beginners in digital photography is whether to edit or not? If yes, then to what degree? Well, very few photographers leave their images untouched. Getting it right in the camera is possible, but one needs experience and good technical skills for that. Even then, in uncontrolled situations, there might be a lot of things which need to be corrected or enhanced to get the right image. So, one must always judge the post-processing potential of any image, particularly if the composition looks promising.
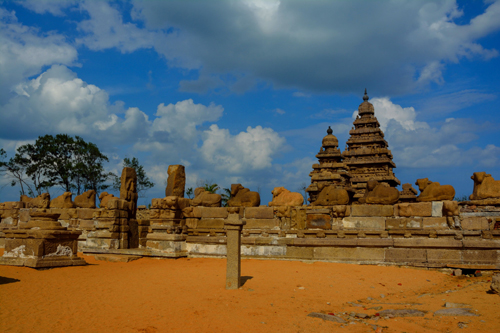
Over-processed image
Some people go overboard with processing, ending up with images that look like cheap posters on sale in the market, with extra-blue skies and trees as green as earth has never seen. Understanding the limits of editing is very important. The idea of editing is to get the exact view as you saw, maybe enhancing it a bit to make it look better, but it should stop before it turns the scene to something totally different.
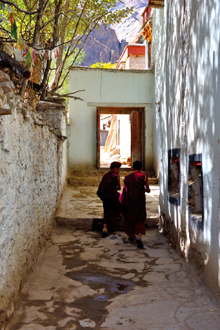
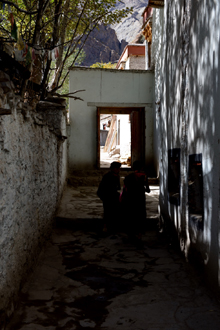
Brightness adjustment
If you are new to editing, start with the supplied software, and shoot RAW. A RAW file has all the data captured by your camera and the supplied software is best suited to deal with it. The very first edits that you will benefit from is adjusting brightness and contrast, shadow / highlight correction and sharpening. Reducing the brightness increases the colour saturation of the image, particularly landscapes and nature shots. Always preview the effect before committing the edit.
If you need to increase the overall brightness, then you may have to increase contrast by at least half of the increase in brightness to get a pleasing effect.
If you want to get back details in the dark areas without affecting overall brightness, try shadow correction. This will work best if you have shot in RAW. If the bright areas look blown out, try highlight correction, also works best with RAW files.


Shadow correction on an NEF (RAW) file
Sometimes, the overall image lacks colour strength. This is the time to go for increasing saturation. This is where most people overstep, so be reasonable, and try to achieve a realistic result.
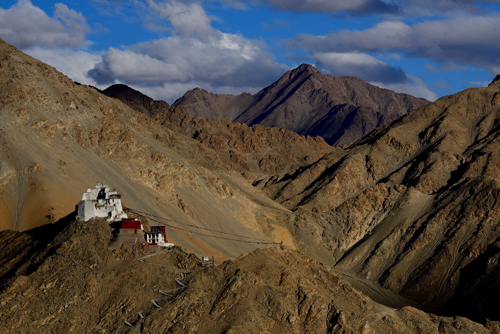
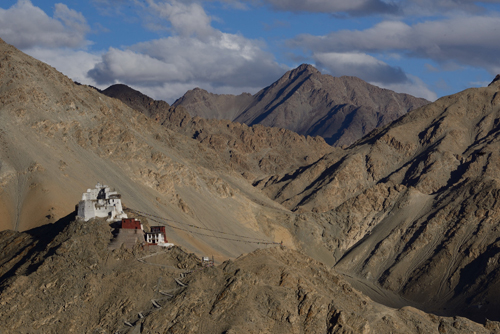
Increasing colour saturation
Once everything looks fine, the image can benefit from a bit of sharpening. Remember too much sharpening can diminish image quality so preview the image at 100% after applying this tool. Sharpening gives a final wallpaper like touch to the image which works for most images, particularly nature and landscape shots. Use sharpening very carefully with a portrait.
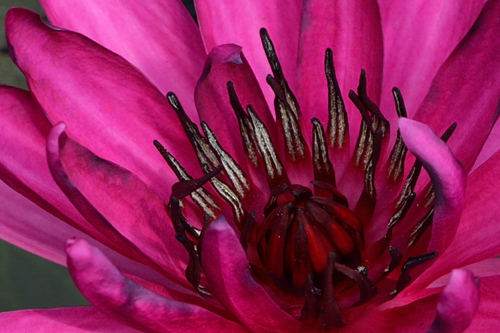 Before sharpening at 100%crop
 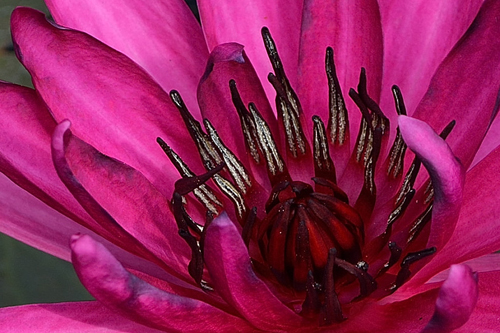 After sharpening at 100% crop
Once you master these basic edits, you will be able to gauge the potential of each image just by looking at it.