By : Nikon School Blog | 20 Sep, 2014 |
That little source of light called the built-in-flash hidden on top of your camera is often the most unused or even misused part of a D-SLR. Most use it only in low light, but seldom realise that by default, the camera controls how much light the flash throws at the subject, often leading to unexpected results.
Thankfully, quite a few customisable flash related features are available in most DSLRs, and of course, your creativity and improvisation skills can overcome most of the limitations of the built- in-flash.
The power of the built-in Flash is limited and does not reach or fall on a subject placed at a distance; hence it’s most effective at short distances, usually between 5 to 10 feet. Forget this and you end up with images too dark to be corrected in post-processing. The auto mode handles this situation well, but the camera almost always boosts ISO to get you better flash coverage and your images turn out bright, but grainy. The way around this is you can shoot in the P,S,A and M modes and manually set the ISO between 200 - 400.Then you simply tell the camera to increase or decrease the output of the flash. Just press the flash button and the exposure compensation button together and move the command dial to either side.
The built-in-flash is a great tool to cover the shadows, whenever you are shooting against light. Whether you want to get rid of or soften the shadows, just pop up the flash – shadows gone!
Haven't you shot a portrait with a sunset or a lit up building at the back, only to get a bright portrait with a dark background? Thank heavens, we have the slow sync flash mode (available in A and P modes). The camera selects a very slow shutter speed to match the flash light with ambient light, speed of 1/15 or 1/8 and fire the built-in-flash. In both cases use a tripod to avoid camera shake.
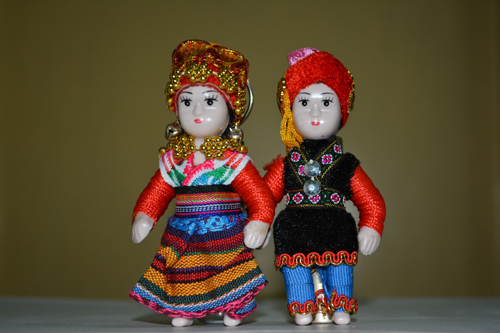
 Normal sync flash
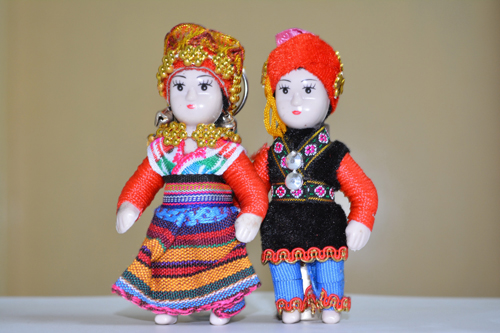
  Slow sync flash
While shooting portraits and pets use the red-eye mode. This eliminates the reddish (or greenish in some animals) glow in the eyes. The flash fires after a brief delay in this mode and that's how it's meant to be.
Want to go surprise people with your creativity? The 'slow rear curtain sync' flash mode is very useful to produce creative flash exposures with subject movement. This records the movement of the subject while freezing it when you end the exposure.
The built-in-flash is fixed and throws light directly on the subject, often causing harsh lighting that isn't too pleasing. Take a white translucent paper or a napkin, or a piece of white plastic or anything else you can think of, and put it in front of the flash. The results are much more pleasant. Remember, the obstruction reduces the intensity of light from the flash, so you must use positive flash compensation or exposure compensation or both, to get the exposure right.
 Normal flash
  Diffused flash
Finally, if you want a constant output from the built-in-flash, you can switch from the TTL (through the lens) mode where the flash output is controlled by the camera, to the manual mode where you can select the flash output which remains constant throughout your shoot. However, shoot manual when using manual flash to get the best exposure.